Building a Clerk-Inspired Table of Contents for Astro
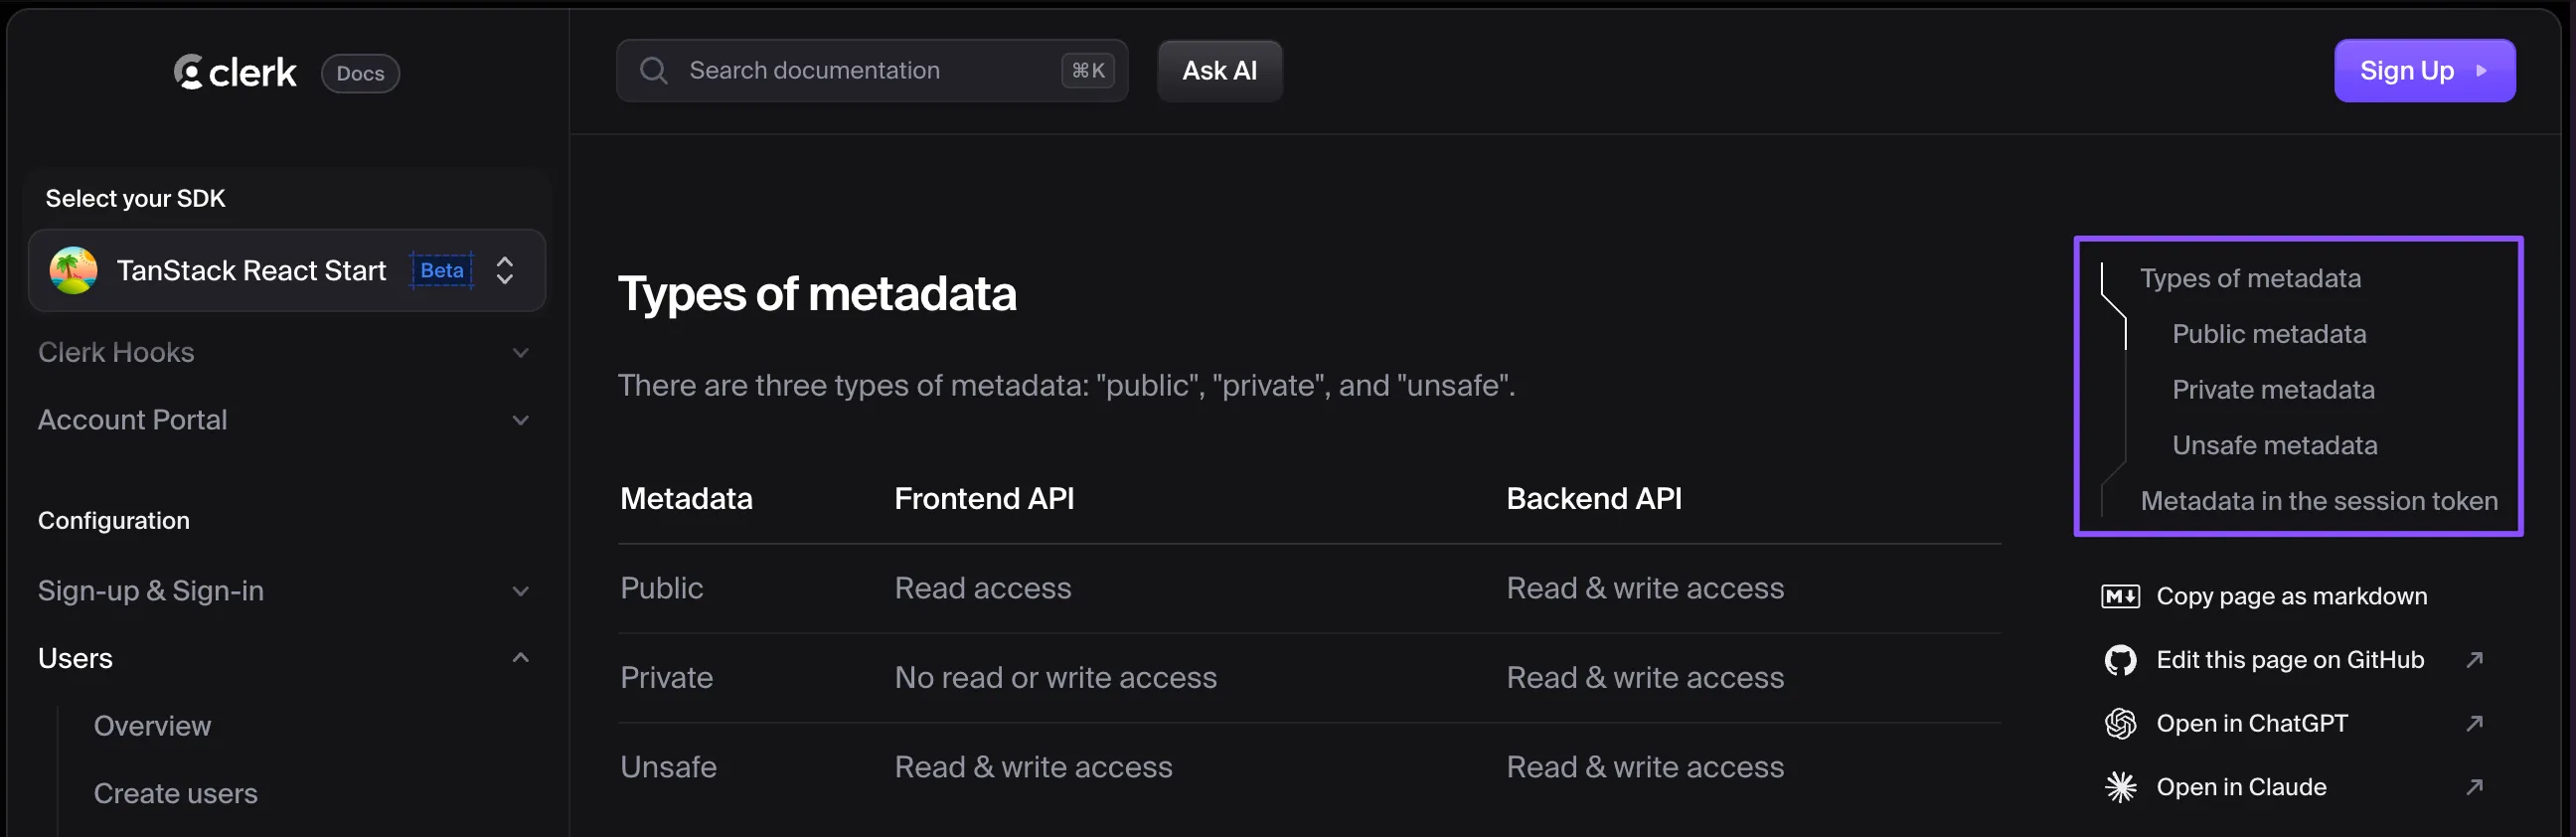
Building a great reading experience often hinges on navigation—helping readers understand where they are and where they can go. When I was redesigning this blog, I was inspired by Clerk’s documentation which features an elegant table of contents with slick scroll progress indicators. Here’s how I built a similar component for this blog.
The Gist
The solution combines the following:
- Astro’s built-in markdown processing to extract headings
- rehype plugins (
rehype-slugandrehype-autolink-headings) for automatic anchor generation - React component for the interactive table of contents
- SVG path generation for the progress indicator
The table of contents renders as a fixed sidebar that tracks your reading progress with a curved line that highlights visible sections, providing visual feedback about your current position in the content. And to be honest, it just looks cool.
Package vs Custom Component
If you want to add a table of contents to an Astro markdown file, you have two main paths:
-
Using existing packages such as
remark-tocthat can generate a basic table of contents from your markdown. This works if you need the it inlined in the article, and customizing it using CSS is enough. -
Building a custom component - this approach gives you full control over the visual design, custom progress tracking, positioning, responsiveness, and more.
The custom approach requires more upfront work but gives you unlimited flexibility, and that’s what we’ll cover in this post.
Implementation
Getting Headings from Markdown
First, we need to get the headings from the markdown file. Astro’s content collections automatically extracts and heading when you render a md/mdx file:
In your blog post template (e.g., [...slug].astro):
const { post } = Astro.props;
const { Content, headings } = await post.render();

// heading is an array of MarkdownHeading type from astro
interface MarkdownHeading {
    depth: number;
    slug: string;
    text: string;
}
The headings array that Astro provides contains:
depth: the heading level (1-6 for h1-h6)slug: the URL-friendly ID generated by rehype-slug (more about that below)text: the heading text content
You can filter out the H1 heading, as its usually the page title, and the deeper nesting to make the component more neat, so essentially we’ll get something like this:
[
  { depth: 2, slug: 'pricing-modeling', text: 'Pricing Modeling' },
  { depth: 2, slug: 'subscription-migration', text: 'Subscription migration' },
  { depth: 2, slug: 'calculating-entitlements', text: 'Calculating Entitlements' },
  { depth: 3, slug: 'stigg-goes-dynamic', text: 'Stigg Goes Dynamic' },
  { depth: 3, slug: 'new-solution-new-problems', text: 'New Solution, New Problems' },
  { depth: 2, slug: 'the-bottom-line', text: 'The Bottom Line' }
]
Table of Contents Component
The table of contents component is an Astro island component that uses React. As we mentioned earlier, we’ll need to filter out irrelevant headers, as well as nest the headings to render the list semantically correct.
This is the basic component that renders the table of contents:
interface TocHeading extends MarkdownHeading {
  children?: MarkdownHeading[];
}

// recurively render the table of contents list
function renderTocList(headings: TocHeading[]) {
  return (
    <ul className="space-y-1 text-sm">
      {headings.map(({ slug, text, depth, children }) => (
        <li key={slug}>
          <a
            href={`#${slug}`}
            className={`block w-full text-left text-xs py-1 px-2 transition-colors duration-200 ${getMarginClass(depth)} text-muted-foreground hover:text-foreground`}
          >
            {text}
          </a>
          {children && renderTocList(children)}
        </li>
      ))}
    </ul>
  );
}

export function TableOfContents({ headings }: TableOfContentsProps) {
  const nestedHeadings: TocHeading[] = [];
  const levelTracker = new Map();

  // nest the headings
  headings.forEach((heading) => {
    const tocItem = { ...heading, children: [] };
    levelTracker.set(tocItem.depth, tocItem);
    if (tocItem.depth === 2) {
      toc.push(tocItem);
    } else {
      levelTracker.get(tocItem.depth - 1)?.children.push(tocItem);
    }
  });

  return (
    <nav
      className="table-of-contents fixed w-66 z-10 hidden xl:block"
      aria-label="Table of contents"
    >
      <div className="mb-2">
        <h3 className="text-sm font-semibold text-foreground">On This Page</h3>
      </div>

      {renderTocList(nestedHeadings)}
    </nav>
  );
}
This will render a basic table of contents, with no progress tracking, that looks something like this:
Few things to note here:
- We’re nesting the headings to render the list semantically correct, instead of just having a flat list with indentation.
- The
getMarginClassutility function is just a mapping of the level to the margin class, to prevent tree shaking from removing the classes. - The header links to
href={#${id}}are handled by therehype-autolink-headingsplugin, more on that below on Adding Links to Every Header.
Progress Bar SVG
In order to create the progress bar, we’re programatically generating an SVG path based on the headings structure and styling.
Calculating Dimensions
Since SVG requires a width and height for the view box, we need to calculate them based on the headings structure and styling. For that, we’ll define several parameters, which are based on the TOC styling we want - font size, line height, margins, etc’:
const BASE_X = 0.5;
const INDENT_X = 12;
const INDENT_Y = 12;
const START_Y = 0;
const MAX_LINE_LENGTH = 32;

const FIRST_LINE_HEIGHT = 24;
const ADDITIONAL_LINE_HEIGHT = 16;
const LINE_MARGIN = 4;
Now we can calculate the height based on the number of lines we’re going to render, and the width based on the number of levels we have:
const headingHeight = (text: string) =>
  FIRST_LINE_HEIGHT +
  ADDITIONAL_LINE_HEIGHT * Math.floor(text.length / MAX_LINE_LENGTH) +
  LINE_MARGIN;

const getHeight = (headings: TocHeading[]) => {
  const fullHeight = headings.reduce((acc, heading) => {
    return acc + headingHeight(heading.text);
  }, 0);
  return fullHeight - LINE_MARGIN; // account for last line margin
};

const getWidth = (headings: TocHeading[]) => {
  const levels = headings.map((heading) => heading.depth);
  return (Math.max(...levels) - Math.min(...levels)) * INDENT_X + BASE_X * 2;
};
Generating the Path
The path generation uses SVG commands to create the line:
M x y(Move): Positions the drawing cursor at the starting pointV y(Vertical Line): Draws a vertical line to the specified y-coordinatel x y(Relative Line): Draws a line relative to the current position
const generateProgressPath = (headings: TocHeading[], height: number) => {
  let currentLevel = headings[0].depth;
  let path = `M ${BASE_X} 0`; // Start at the top-left
  let currentY = START_Y;

  headings.forEach((heading) => {
    const gap = heading.depth - currentLevel;

    // if there's a depth change, draw an indentation to the right direction
    if (gap) {
      path += ` l ${gap * INDENT_X} ${INDENT_Y}`;
    }

    // calculate the new Y and continue the line down
    currentY += headingHeight(heading.text);
    path += ` V ${currentY}`;

    currentLevel = heading.depth;
  });

  // make sure the line goes to the bottom
  path += ` V ${height}`;
  return path;
};
So basically, on every heading we check if there’s a depth change, and create an indentation to the right direction, or we simply continue the line down.
We can take our SVG path, and create a data URI, which can be used as a background to our component:
// table of content logic
export const generateProgressBar = (headings: TocHeading[]) => {
  const height = getHeight(headings);
  const width = getWidth(headings);
  const path = generateProgressPath(headings, height);

  const svgDataUri = `data:image/svg+xml,%3Csvg xmlns='http://www.w3.org/2000/svg' viewBox='0 0 ${width} ${height}'%3E%3Cpath d='${path}' fill='none' stroke='black' stroke-width='1'/%3E%3C/svg%3E`;

  return { height, width, svgDataUri };
};

// table of content jsx
<div
  className={`absolute left-0 top-0 w-8 bg-gray-200 dark:bg-gray-700`}
  style={{
    height: `${height}px`,
    maskImage: `url("${svgDataUri}")`,
    WebkitMaskImage: `url("${svgDataUri}")`,
    maskSize: "contain",
    maskRepeat: "no-repeat",
    WebkitMaskSize: "contain",
    WebkitMaskRepeat: "no-repeat",
  }}
>
  // visible range will go here
</div>
After this part, our table of contents will look like this -
Calculating Section Boundaries
Once we have the path, we need to understand which sections are currently visible, so we can highlight the correct part of the progress bar. In order to do that, we first need to understand which part of the path represents each section.
const generateHeadingRanges = (headings: TocHeading[]) => {
  let start = 0;
  return headings.map((heading) => {
    const end = start + headingHeight(heading.text);
    const range = { start, end };
    start = end;
    return range;
  });
};
We’re simply going over the headings, and based on each of their height, return a list of start/end pairs, so when a specific section is visible, we can mask and highlight it.
Identifying Visible Sections
There are various way to decide if a section is visible, but for me, the most intuitive way is to check any content between one heading and the next is visible, and consider that section visible. The one caveat is that if a heading has only headings as children, it will not be considered a visible section.
const createSectionBoundary = (
  headings: MarkdownHeading[],
  index: number,
): SectionBoundary | null => {
  const heading = headings[index];
  const element = document.getElementById(heading.slug);
  if (!element) return null;

  const start = element.offsetTop;
  const nextHeading = headings[index + 1];

  const end = nextHeading
    ? (document.getElementById(nextHeading.slug)?.offsetTop ??
      document.documentElement.scrollHeight)
    : document.documentElement.scrollHeight;

  return {
    id: heading.slug,
    start,
    end,
    element,
    index,
  };
};
The next thing is to check the users current Y scroll position, and mark any visible sections as such:
const isSectionVisible = (
  section: SectionBoundary,
  viewportTop: number,
  viewportBottom: number,
): boolean => {
  const sectionVisible =
    section.start < viewportBottom && section.end > viewportTop;
  const visibleHeight =
    Math.min(viewportBottom, section.end) -
    Math.max(viewportTop, section.start);
  return sectionVisible && visibleHeight > MIN_VISIBLE_HEIGHT;
};


const updateVisibleSections = useCallback(() => {
  const viewportTop = window.scrollY + HEADING_OFFSET; // account for header height
  const viewportBottom = window.scrollY + window.innerHeight;

  const visibleIds = sectionBoundaries
    .filter((section) =>
      isSectionVisible(section, viewportTop, viewportBottom),
    )
    .map((section) => section.id);

  setVisibleSections(new Set(visibleIds));
}, [sectionBoundaries]);
In order to keep those calculations up to date, we need to attach two listeners - one for window resize, which changes the section boundaries, and one for scroll, which updates the visible sections.
// inside the table of contents component
useEffect(() => {
  calculateSectionBoundaries();
  window.addEventListener("resize", calculateSectionBoundaries);
  return () =>
    window.removeEventListener("resize", calculateSectionBoundaries);
}, [calculateSectionBoundaries]);

useEffect(() => {
  updateVisibleSections();
  window.addEventListener("scroll", updateVisibleSections);
  return () => window.removeEventListener("scroll", updateVisibleSections);
}, [updateVisibleSections]);
Almost there! We can now calculate a single visible range out of the visible sections, and use it to mask and highlight the progress bar.
const visibleRange = useMemo(() => {
  const visibleRanges = headings
    .map((heading, index) => ({
      range: headingRanges[index],
      isVisible: visibleSections.has(heading.slug),
    }))
    .filter(({ isVisible }) => isVisible)
    .map(({ range }) => range);

  if (visibleRanges.length === 0) return null;

  const start = Math.min(...visibleRanges.map((r) => r.start));
  const end = Math.max(...visibleRanges.map((r) => r.end));

  return { start, end };
}, [visibleSections, headingRanges, headings]);

// table of content jsx
<div
  // this is our progress bar background
  className={`absolute left-0 top-0 w-8 bg-gray-200 dark:bg-gray-700`}
>
  {visibleRange && (
  <div
    className="absolute left-0 bg-black dark:bg-white transition-all duration-200"
    style={{
      top: `${(visibleRange.start / height) * 100}%`,
      height: `${((visibleRange.end - visibleRange.start) / height) * 100}%`,
      width: "100%",
    }}
  />
)}
</div>
Voila! We have our table of content ready.
Adding Header Link
So far we’ve assumed that every header is linkable, and that it has an element id in the DOM. However, this doesn’t happen out of the box. In order to achieve that, we need to use two rehype plugins - rehype-slug and rehype-autolink-headings.
In your astro.config.mjs, add the necessary plugins:
import rehypeSlug from "rehype-slug";
import rehypeAutolinkHeadings from "rehype-autolink-headings";

export default defineConfig({
  markdown: {
    rehypePlugins: [rehypeSlug, rehypeAutolinkHeadings],
  },
});
This configuration:
- rehype-slug: automatically generates URL-friendly IDs for all headings (
h1,h2, etc.) - rehype-autolink-headings: adds clickable anchor links with a link icon next to each heading
The allows us to query the heading elements, as well as make every heading in the table of contents clickable.
rehype-autolink-headings has a ton of options! I’ve used it to add a copy button next to each heading, which appears on hover. You can find the options in this snippet. Summary
This is a lot of hassle for a relatively small component, but its snappy, configurable and just makes scrolling through the page more enjoyable.
You can find the full code in this gist.